
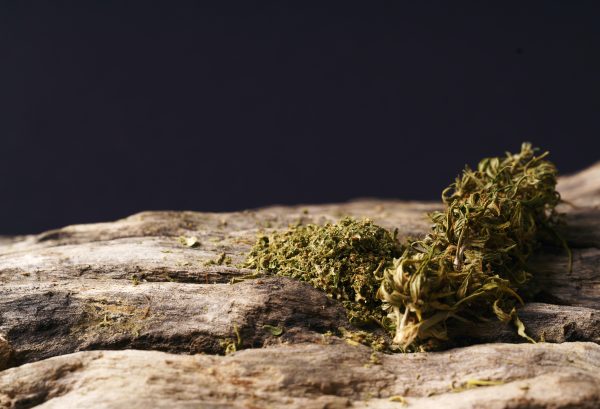
Buying cannabis on a budget is a smart way to enjoy your hobby without draining your bank account. Sometimes, that value-priced ounce arrives a little crispier than you’d like. Instead of a smooth, flavorful cloud, you get a hit that feels like swallowing a campfire. This “lung burn” is a common frustration, but it doesn’t mean your purchase was a waste.
When flower loses its internal moisture, it becomes brittle. The “dust factor” sets in, where your beautiful buds crumble into a fine powder the moment they touch a grinder. This leads to a fast, hot burn that wastes your product and kills the flavor. If you want to get the most out of your shop flower experience, learning how to fix dry weed is a vital skill.
Why Does Cannabis Get Dry and Harsh?
Cannabis is a biological product. Even after it is dried and cured, it maintains a small amount of water weight, usually between 6% and 12%. When that moisture level drops too low, the plant material becomes fragile. In the Canadian climate, especially during winter when indoor heating is high, weed can dry out in a matter of days if not stored correctly.
The Loss of Terpenes and Flavor
The biggest casualty of dry weed isn’t just the texture; it is the “muted” experience. Terpenes are the oils that give strains like Blue Dream or Pink Kush their distinct smells. These compounds are volatile. As the moisture evaporates, the terpenes go with it. Rehydrating your buds won’t magically bring back every lost terpene, but it can stop the degradation and make the remaining flavors pop.
Why Budget Weed Often Needs a Refresh
Budget-friendly options are often priced lower because they might be from a larger harvest or stored in bulk longer. This doesn’t mean the quality is bad. It just means the flower has had more time to sit. By using a few simple hacks, you can turn a $99 ounce that feels like hay into a smooth-smoking stash that rivals premium shelf options.
Identifying the “Dust Factor” in Your Stash
You know you have a problem when you try to break a nug apart and it shatters. Properly hydrated cannabis should have a “squish” to it. If you press a bud between your fingers, it should compress and then slowly start to move back to its original shape. If it snaps and turns into shards, you are dealing with the dust factor.
This isn’t just about aesthetics. Dry weed burns much faster than hydrated weed. If you are rolling joints, dry material will result in “canoeing,” where one side burns faster than the other. To ensure an even burn, check out this guide on the best rolling papers for joints which can help, but even the best paper can’t save bone-dry weed.
How to Fix Dry Weed Using Household Items
You don’t need expensive laboratory equipment to fix your flower. Most people have exactly what they need in their kitchen right now. The goal is to create a “micro-climate” where moisture can slowly migrate back into the plant cells.
The Orange or Lemon Peel Method
This is a classic for a reason. Citrus peels are packed with moisture and natural oils.
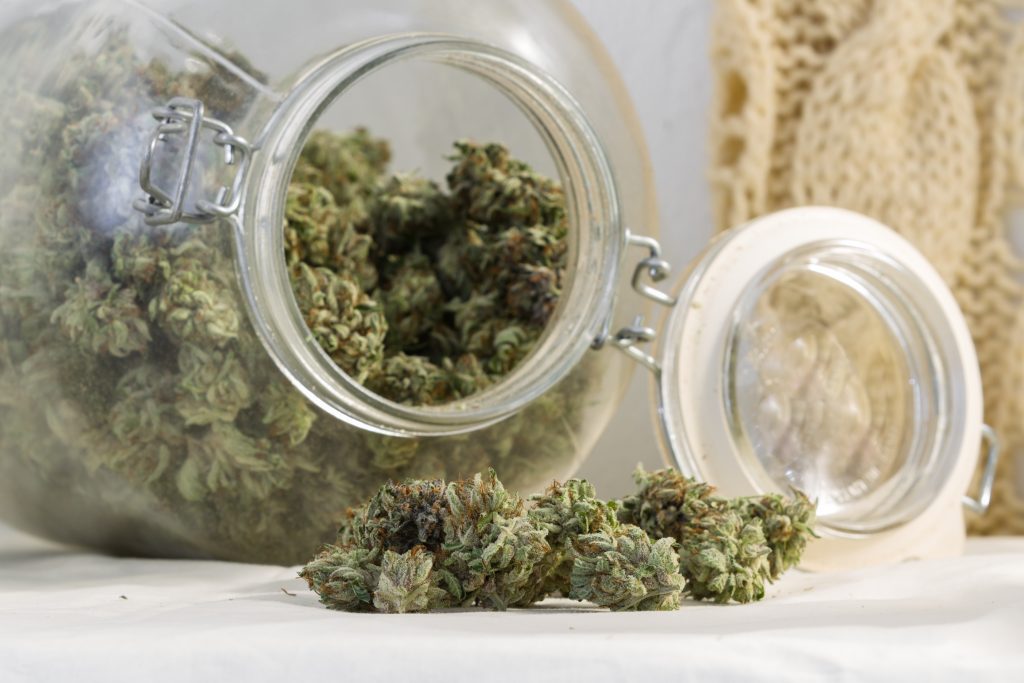
- Place your dry weed in a glass Mason jar.
- Cut a small strip of orange or lemon peel.
- Place the peel in the jar, ensuring it isn’t directly touching the buds to avoid any wet spots.
- Seal the jar and wait for 4 to 8 hours.
The buds will absorb the moisture and a slight citrus scent. Don’t leave the peel in for more than 24 hours, or you risk the moisture level getting too high, which leads to mold.
The Damp Paper Towel Trick
If you don’t want to change the flavor of your weed, the paper towel method is the best “neutral” fix.
- Take a small piece of paper towel and dampen it with distilled water.
- It should be moist, not dripping.
- Put the towel inside a small plastic baggie but leave the baggie open.
- Place that baggie inside your jar with the weed.
- This prevents the wet towel from touching the flower directly while still raising the humidity inside the jar.
Using Fresh Bread for Moisture
It sounds strange, but a single slice of white bread works wonders. Bread is highly efficient at transferring moisture without leaving behind a strong scent like citrus does. Simply put a small piece of a crust in your jar for a few hours. The bread will get hard as the weed gets soft. Once the bread feels like a crouton, your weed is likely ready.
Pro Budget Weed Tips for Long-Term Storage
The best way to fix dry weed is to prevent it from happening in the first place. These budget weed tips will save you money in the long run by preserving the potency of your bulk buys.
- Switch to Glass: Plastic baggies are porous. They let air in and moisture out. Always move your flower to glass jars with a rubber seal.
- Avoid the Fridge: Many people think the fridge keeps weed fresh. The constant temperature fluctuations and humidity changes actually degrade the trichomes faster.
- Keep it Dark: Light is the enemy of THC. Store your jars in a cupboard or a dark box.
- Use Humidity Packs: Brands like Boveda or Integra Boost make two-way humidity packs. These are the “gold standard.” They don’t just add moisture; they regulate it. If the jar is too wet, they soak it up. If it’s too dry, they release it.
The Science of Rehydration: Why Moisture Matters
When we talk about rehydrating, we are looking at the “water activity” within the plant. When weed is too dry, the trichomes—those tiny crystals on the surface—become brittle. They can literally fall off the plant, leaving you with less potent smoke. By introducing controlled humidity, you are protecting the structural integrity of those trichomes.
A hydrated bud also provides a much cleaner chemical reaction when burned. Water vapor helps cool the smoke as it travels through your pipe or joint. This is the difference between a smooth exhale and a coughing fit. If you find your current stash is still giving you trouble after trying these tips, it might be time to contact our team to ask about our freshest arrivals.
Avoiding Common Rehydration Mistakes
The biggest danger when trying to fix dry weed is overcorrecting. If you add too much moisture, you create the perfect environment for mold and mildew. Moldy weed is dangerous to smoke and must be thrown away immediately.
- Never Use Tap Water: Tap water contains chlorine and minerals. Always use distilled or filtered water for your paper towels.
- Check Frequently: Don’t set it and forget it. Check your jar every few hours. As soon as the buds feel “springy” again, remove the moisture source.
- Don’t “Wet” the Weed: Never spray water directly onto your cannabis. This almost guarantees mold growth and will ruin the burn.
By being patient and using these simple DIY methods, you can rescue any stash. Whether you are dealing with a value-priced bag or an old jar you found in the back of the drawer, a little humidity goes a long way. You deserve a smooth, flavorful experience every time you light up, regardless of how much you spent.
FAQs
How long does it take to rehydrate dry weed? Most DIY methods take between 4 and 24 hours. Small amounts of flower react faster, while a full ounce might need a whole day to reach the right consistency.
Does rehydrating weed make it stronger? It doesn’t increase the THC percentage, but it does preserve the existing THC and terpenes. It makes the smoke smoother, which allows you to take better hits and experience the full effects.
Can I use an apple slice to fix dry weed? Yes, an apple slice works similarly to an orange peel. However, apples carry a higher risk of rot if left too long, so monitor the jar closely.
Is dry weed still safe to smoke? Yes, as long as there is no mold, dry weed is safe. It will just be harsher on your throat and less flavorful than fresh flower.